Images are not an afterthought. A poorly chosen or badly sized image can make a professional blog post look amateur. A great image stops someone scrolling and makes them want to read. This guide will help you get it right every time — even if you have never thought about image sizes before.
A featured image is the main image that represents a blog post or campaign. It appears at the top of the article, in blog listing pages, and when the post is shared on social media.
Every featured image must be exactly 1200 × 630 pixels.
Here is what that means visually:
1200 px wide↕ 630 px tallThis is the shape your image must fill
Aspect ratio: approximately 2:1 (landscape / wide rectangle)
Think of it like a cinema screen — wide and short. This is called a landscape orientation. A photo taken upright on a phone (portrait) will not fit this shape without being cropped or stretched.
Social media — when someone shares the post on Facebook, LinkedIn, or X, the platform automatically pulls the featured image. 1200 × 630 is the recommended size for all major platforms. Get it wrong and the image will be cropped awkwardly or appear blurry.
Consistency — all blog posts and campaign pages on the website use the same image area. A consistent size keeps the site looking professional.
Page speed — a correctly sized image is a smaller file. A smaller file loads faster. A faster page keeps readers — and Google — happy.
Grow Social Capital has a Canva Pro for Non-Profits account, which gives the whole team access to every Pro feature — premium photos, graphics, templates, brand kits, background remover, and much more. Use it.
Open Canva and log in with your own account. You have been given a seat on the Grow Social Capital Canva Pro for Non-Profits account, so you will have full Pro access when you sign in.
Click “Create a design” in the top right corner.
Select “Custom size” from the dropdown.
Enter the dimensions: width 1200, height 630, and make sure the unit is set to px (pixels). Click Create new design.
You now have a blank canvas that is exactly the right shape and size.
Add your image. Click Uploads in the left panel to upload a photo from your computer or phone, or click Photos to browse Canva’s library of professional stock images (all included with Pro).
Set the image as the background. Once your image is on the canvas, right-click it and choose Set image as background — this will stretch it to fill the entire canvas. You can then reposition it by clicking and dragging.
Add text, graphics, or overlays as needed. Use the Grow Social Capital brand colours (navy #0a3a7b, teal #12b6b8) and Outfit font.
This is one of the most important things to understand about web images.
A photo taken on an iPhone can easily be 5–15 MB in size. Uploading that directly to the website is like trying to post a parcel through a letterbox — it causes problems for everyone:
The page loads slowly, especially on mobile or slower connections
Visitors leave before it finishes loading
Google penalises slow pages in search rankings
The website’s storage fills up faster
JPG at 80% gives you a file that looks virtually identical to 100% quality but is typically 3–5× smaller. For a featured image, you should be aiming for a file size under 200 KB. Canva handles this automatically when you export with these settings.
This is one of the most common and most avoidable mistakes. A photo taken in portrait (upright) orientation — like most phone photos — is tall and narrow. The featured image area is wide and short. When WordPress crops the image to fit, it takes the middle section, which often means:
The top of someone’s head is missing
A person is cut off at the chin or shoulders
The most important part of the image is outside the frame
The fix: Always compose your featured image in Canva at 1200 × 630. If you want to use a portrait photo, zoom out and reposition it so the subject fits within the wide frame, or use it as a background element alongside text or graphics rather than as a standalone photo.
If an image looks blurry or blocky (pixellated), it means it was too small to start with and has been stretched beyond its natural size.
Imagine printing a postage stamp the size of a poster — it would look terrible. The same thing happens when a low-resolution image is used large on a webpage.
What causes this:
Screenshots taken on a non-retina screen
Images saved from websites at small sizes
Images that have already been compressed multiple times
Very old photos from low-resolution cameras
The fix: Only use images that are at least 1200 × 630 pixels at their original size. If you are unsure, check: in Canva, when you upload an image and place it on a 1200 × 630 canvas, a warning triangle will appear on the image if it is too low resolution to use at that size. Do not ignore this warning.
Most photos taken on a phone are portrait — taller than they are wide. The featured image slot is the opposite: wider than it is tall.
What goes wrong:
Portrait photos get cropped unpredictably
WordPress may show only the middle slice of the image, losing the top and bottom
The subject ends up off-centre or partially hidden
The fix: Use Canva to place portrait photos within the 1200 × 630 canvas deliberately. You can position the subject on one side and add a colour block or text on the other, which often produces a better design than a full-bleed photo anyway.
A photo of hands typing on a laptop does not tell the reader anything about the Grow Social Capital mission. Generic stock photos feel cheap and communicate nothing.
What to do instead:
Use real photography from events, community activities, or people Grow Social Capital works with (with permission)
Use Canva to combine a relevant image with a bold headline or statistic
Browse Canva Pro’s curated collections — they include many culturally diverse, authentic, and editorial-style images far beyond the typical stock photo clichés
Create a designed graphic using brand colours and typography when no suitable photo is available
Grow Social Capital’s Canva Pro account is there to be used. Every member of the team who publishes content should be logging in and making full use of it.
Featured images on the blog and campaigns are often the first thing a reader sees when the post is shared on social media. Before someone reads a single word, they have already judged the post by its image. A strong image earns the click. A weak image loses it.
We are a professional organisation doing important work in the community. Our images should reflect that. Take the time to create something considered, on-brand, and visually strong. If you are unsure, ask a colleague to review the image before you publish — a fresh pair of eyes takes thirty seconds and can make a real difference.
The photo is blurry — it was likely taken on a phone at low resolution or scaled up from a small source
A logo has been dropped into the corner without any thought — it looks like an afterthought and adds no value
There is no text, no headline, no context — a reader has no idea what the post is about
The background is cluttered and distracting, with no clear focal point
It would be scrolled past without a second glance
A featured image should always communicate something. If the only thing you have is a photo, use Canva to frame it properly, add a headline, and give it purpose.
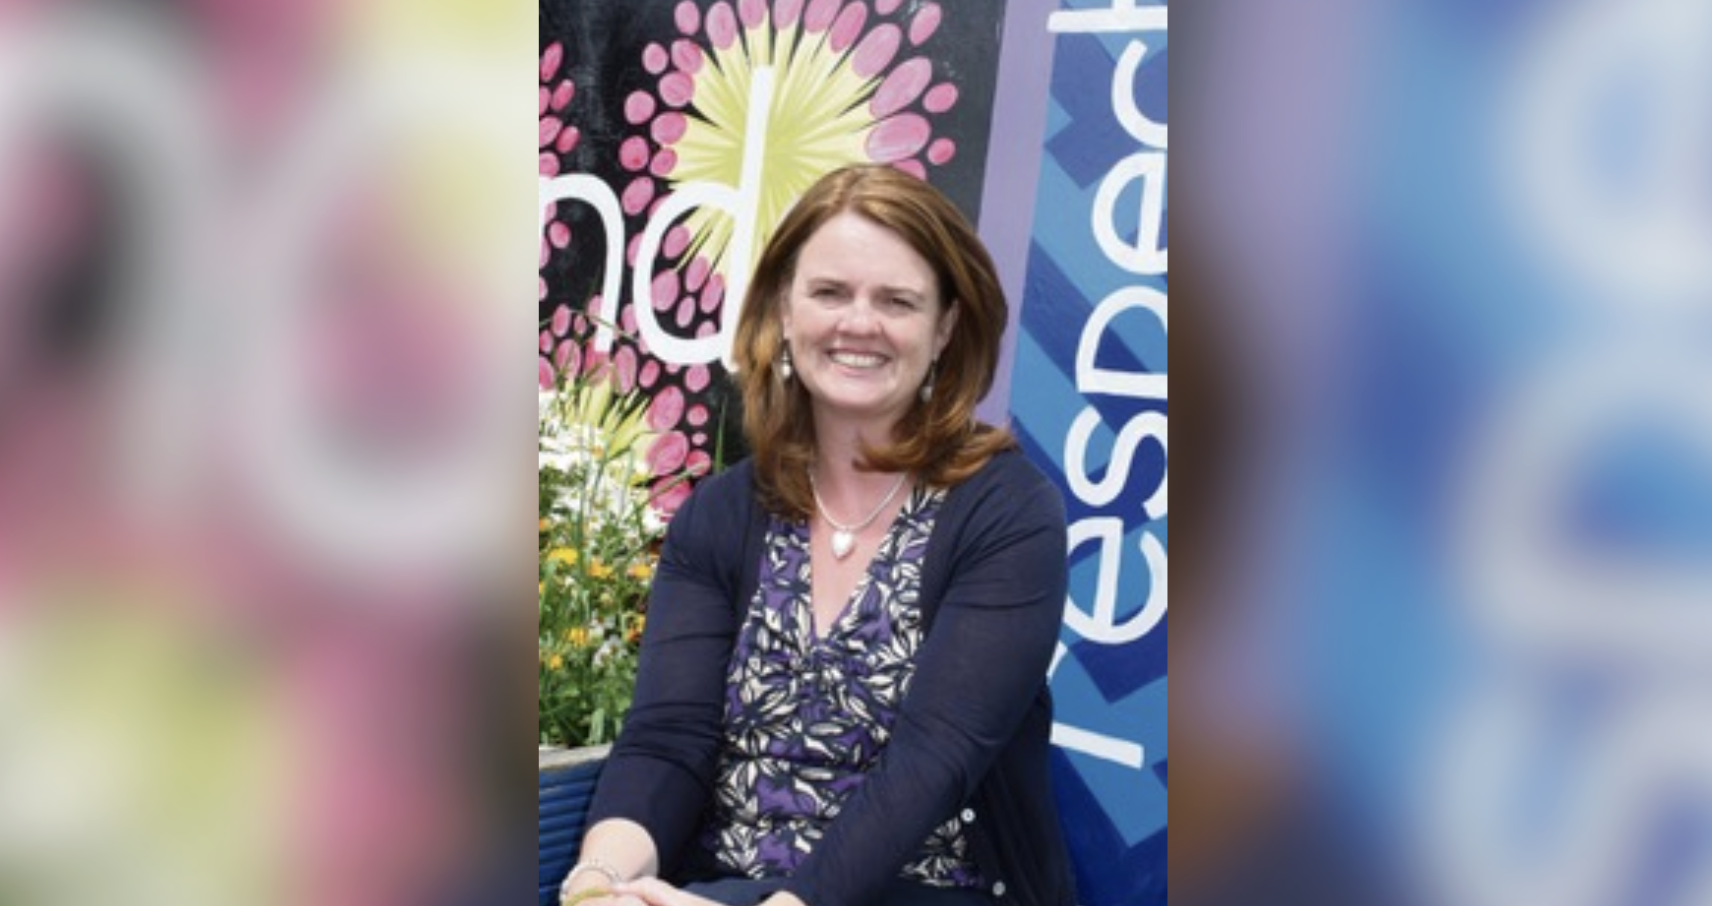
When you only have a portrait photo and it is not high enough resolution to crop well, a better approach is to place the subject in the centre and let the background fill the landscape frame — for example by zooming and blurring the edges in Canva.
✓ A portrait photo handled well in a landscape frame
This approach works because:
The subject is fully visible — no awkward cropping at the chin or top of the head
The background fills the frame naturally without looking forced
It is honest to the original photo — the person is shown clearly and in context
It is far better than zooming in so tightly that the image becomes blurry or the subject is partially cut off
To do this in Canva: place the photo in the centre of the canvas, duplicate it, stretch the duplicate to fill the full background, and apply a blur effect to the background layer. This gives a clean, professional result even with portrait source material.
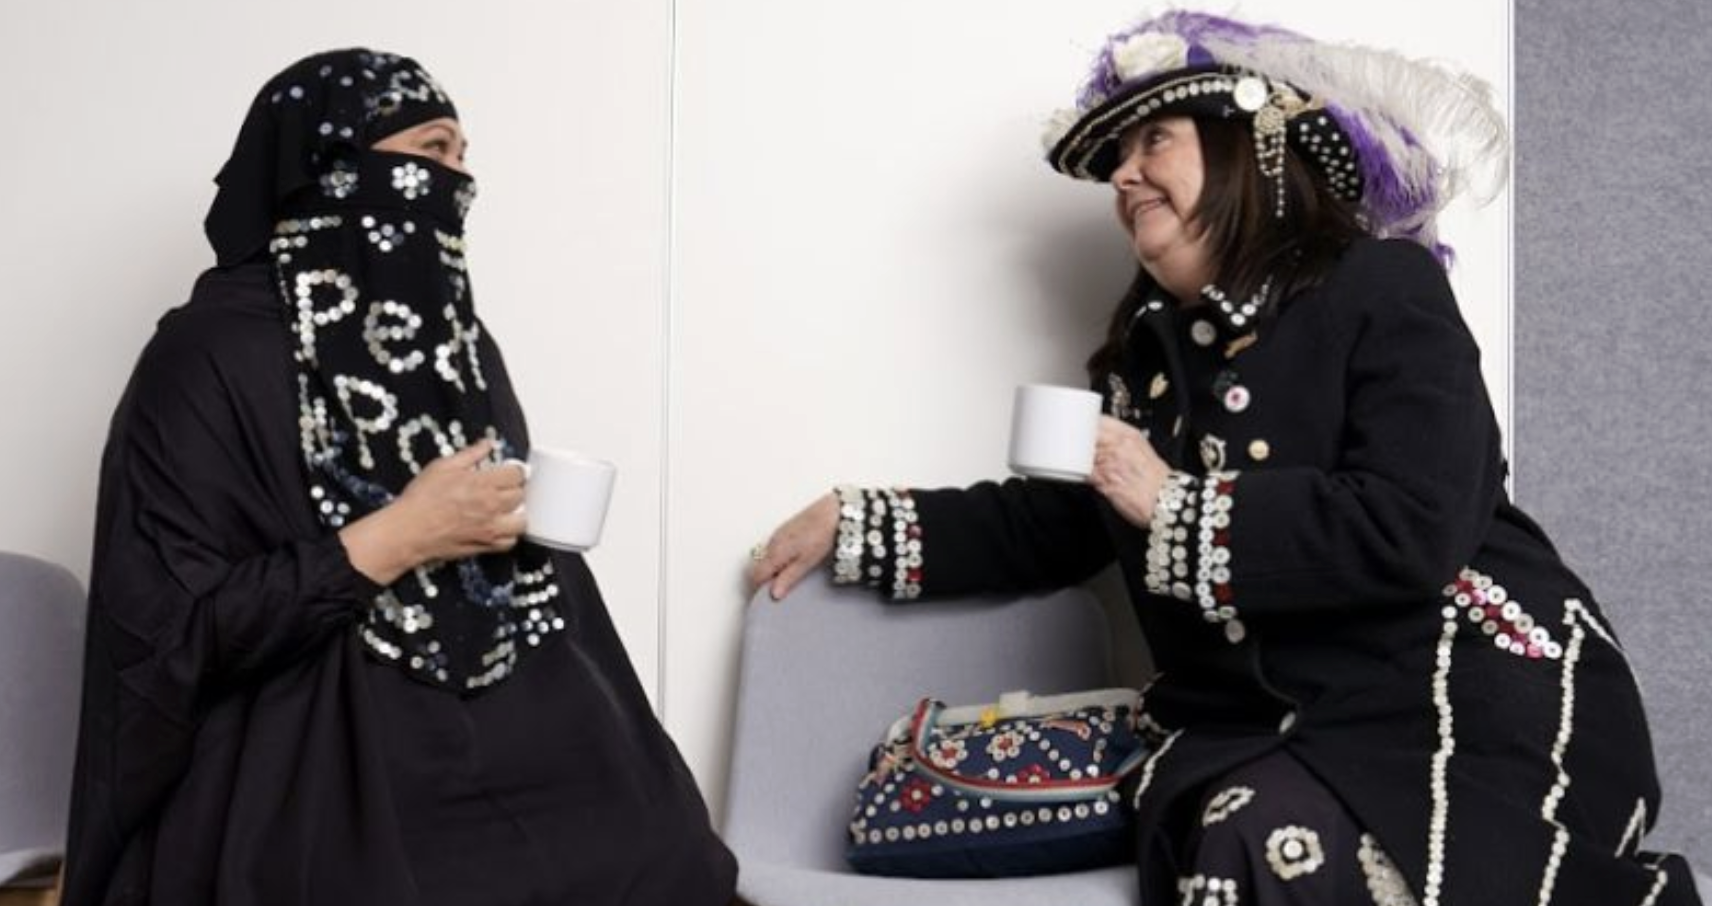
Not every featured image needs a headline or text overlay. A strong photograph on its own — particularly one showing real people — can be just as effective.
✓ A photograph without text — and it works
Photos like this are effective because:
They show real people connecting — which is exactly what Grow Social Capital is about
They are visually striking and memorable — two people in distinctive outfits immediately draw the eye
They communicate warmth, community, and diversity without needing a single word
They feel authentic — not staged or stock, but a real moment
They make someone want to know the story behind the image, which earns the click
If you have good photography from events, interviews, or community activities, do not feel you have to overlay text. A genuinely good photo stands on its own. Make sure it is sharp, well-composed, and at the correct resolution.
Page last updated at 20 April 2026 20:46 by Sarah Tamsin