Adding a New Blog Post
-
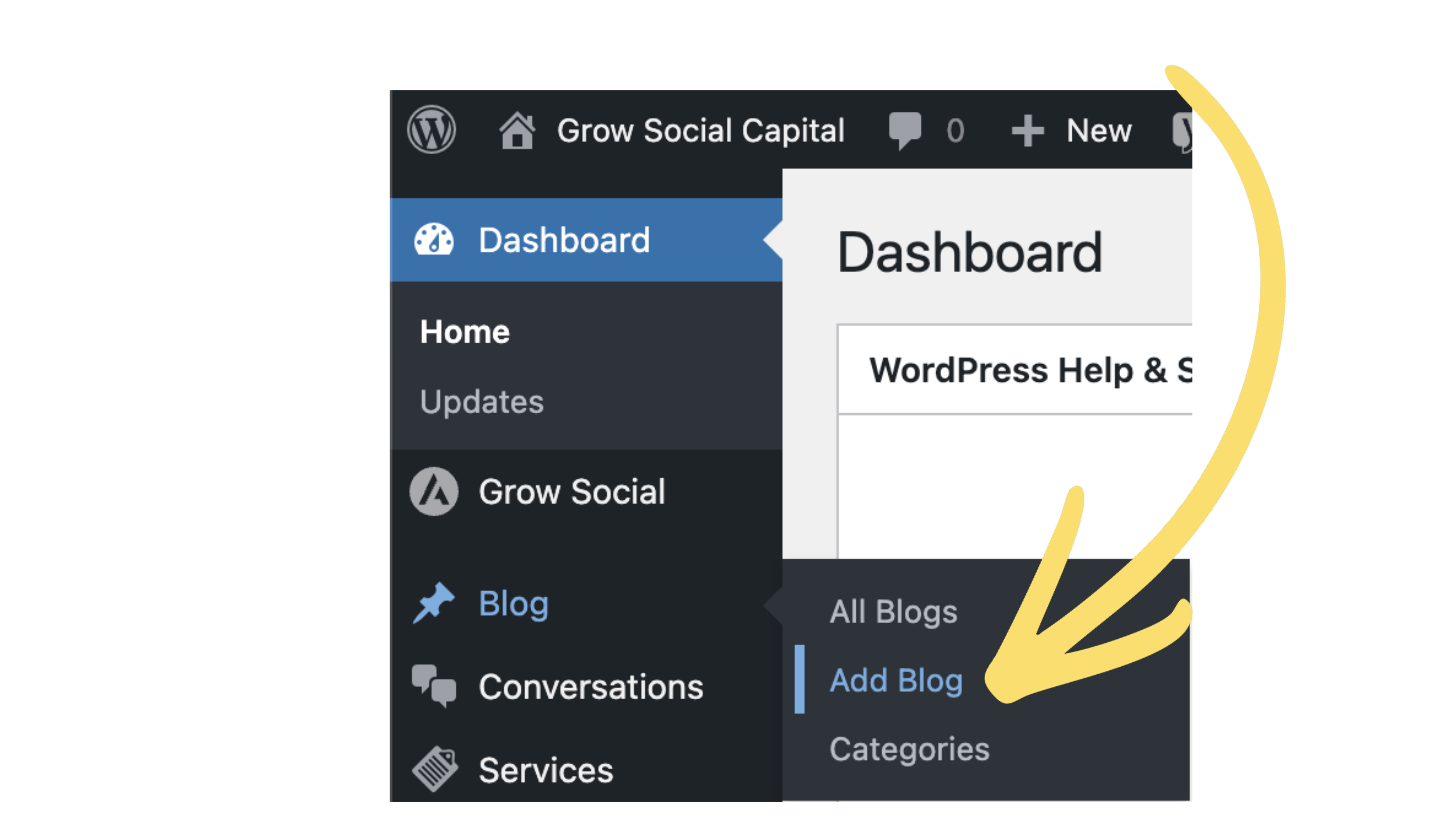
Navigate to Add Blog
Section titled “Navigate to Add Blog”In the WordPress dashboard, hover over Blog in the left-hand menu. A sub-menu will appear — click Add Blog.
-
Open the settings panel
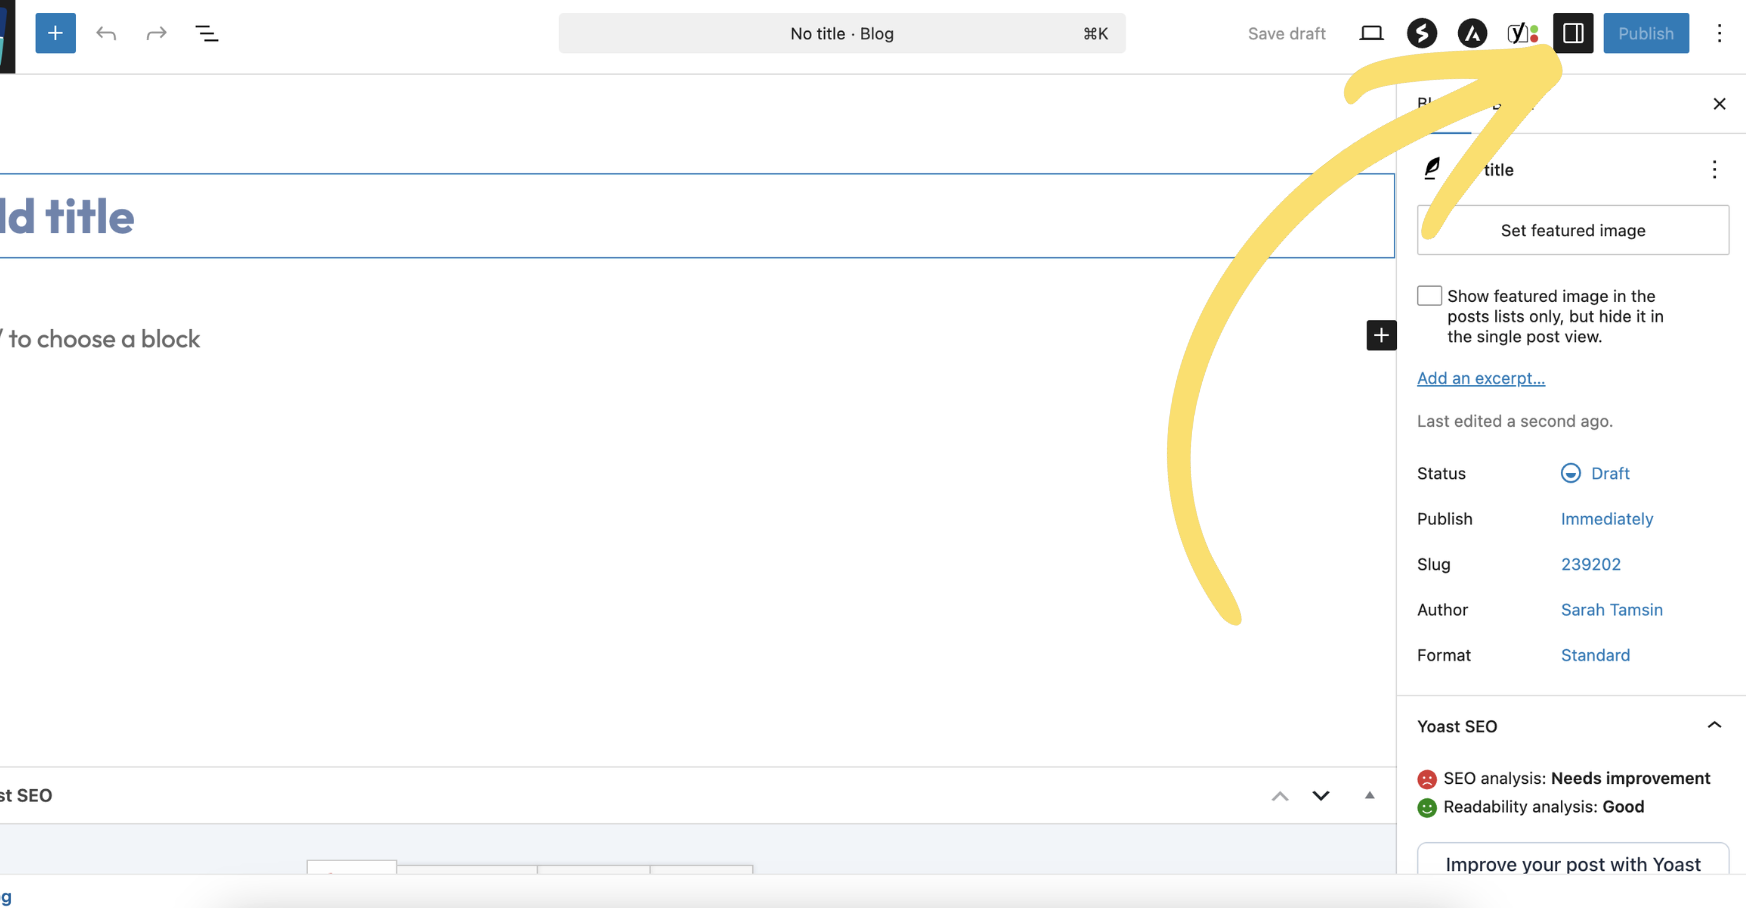
Section titled “Open the settings panel”The editor will open. You need the right-hand settings panel to be visible — it contains the featured image, categories, and publish controls.
If you can see a panel on the right with tabs labelled Blog and Block, you are ready to continue.
If the panel is not visible, click the Settings icon (the square with two unequal columns) in the top-right toolbar to open it.
-
Add your title
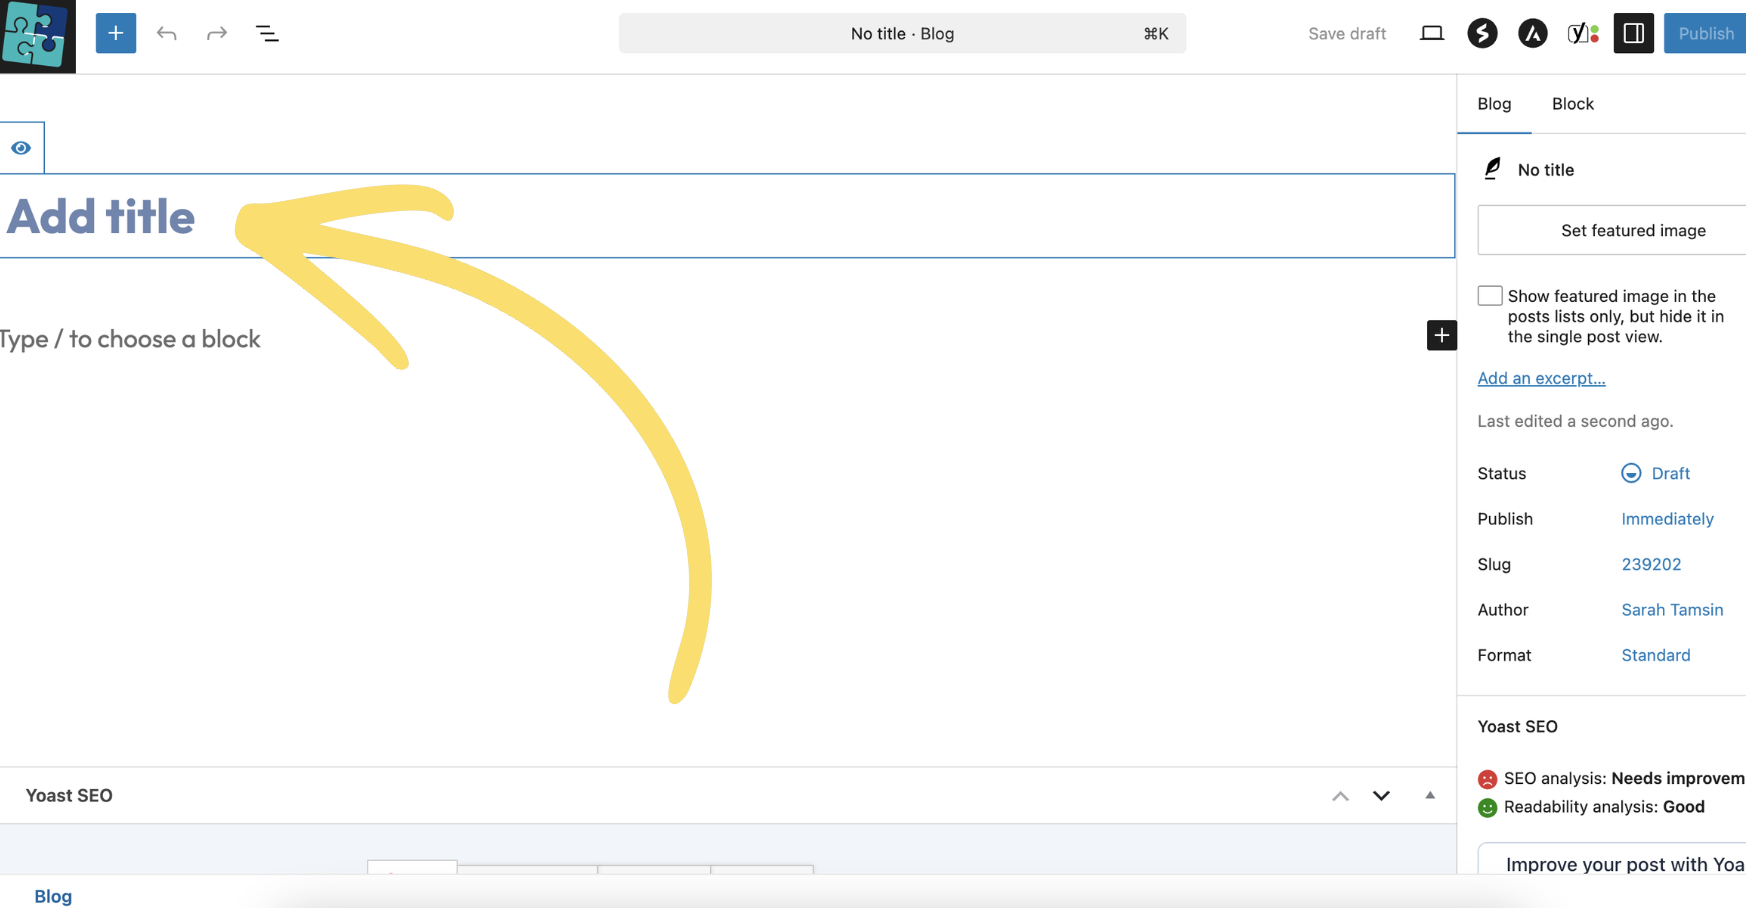
Section titled “Add your title”Click the Add title area at the top of the editor and type your post title.
-
Write your blog post
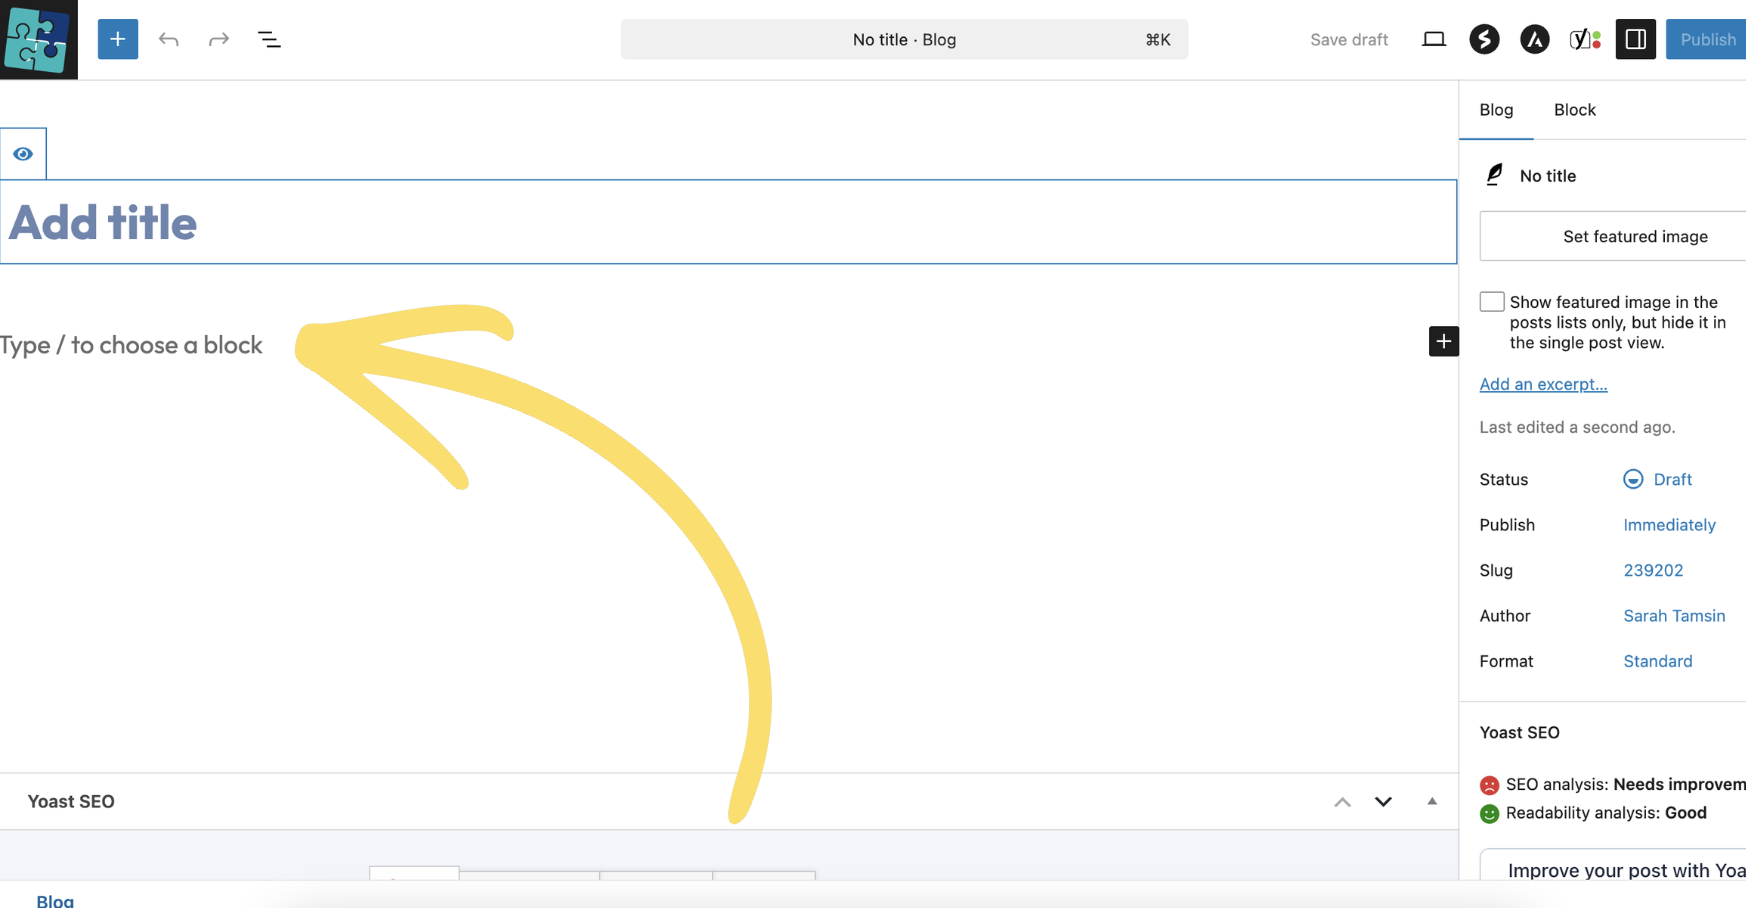
Section titled “Write your blog post”Click in the content area below the title and start writing. The content area uses the WordPress block editor — each paragraph, image, heading, and button is a separate block.
For guidance on using the block editor — including how to add headings, images, links, and buttons — see the WordPress Editor guide.
-
Set a featured image
Section titled “Set a featured image”In the right-hand panel, click Set featured image.
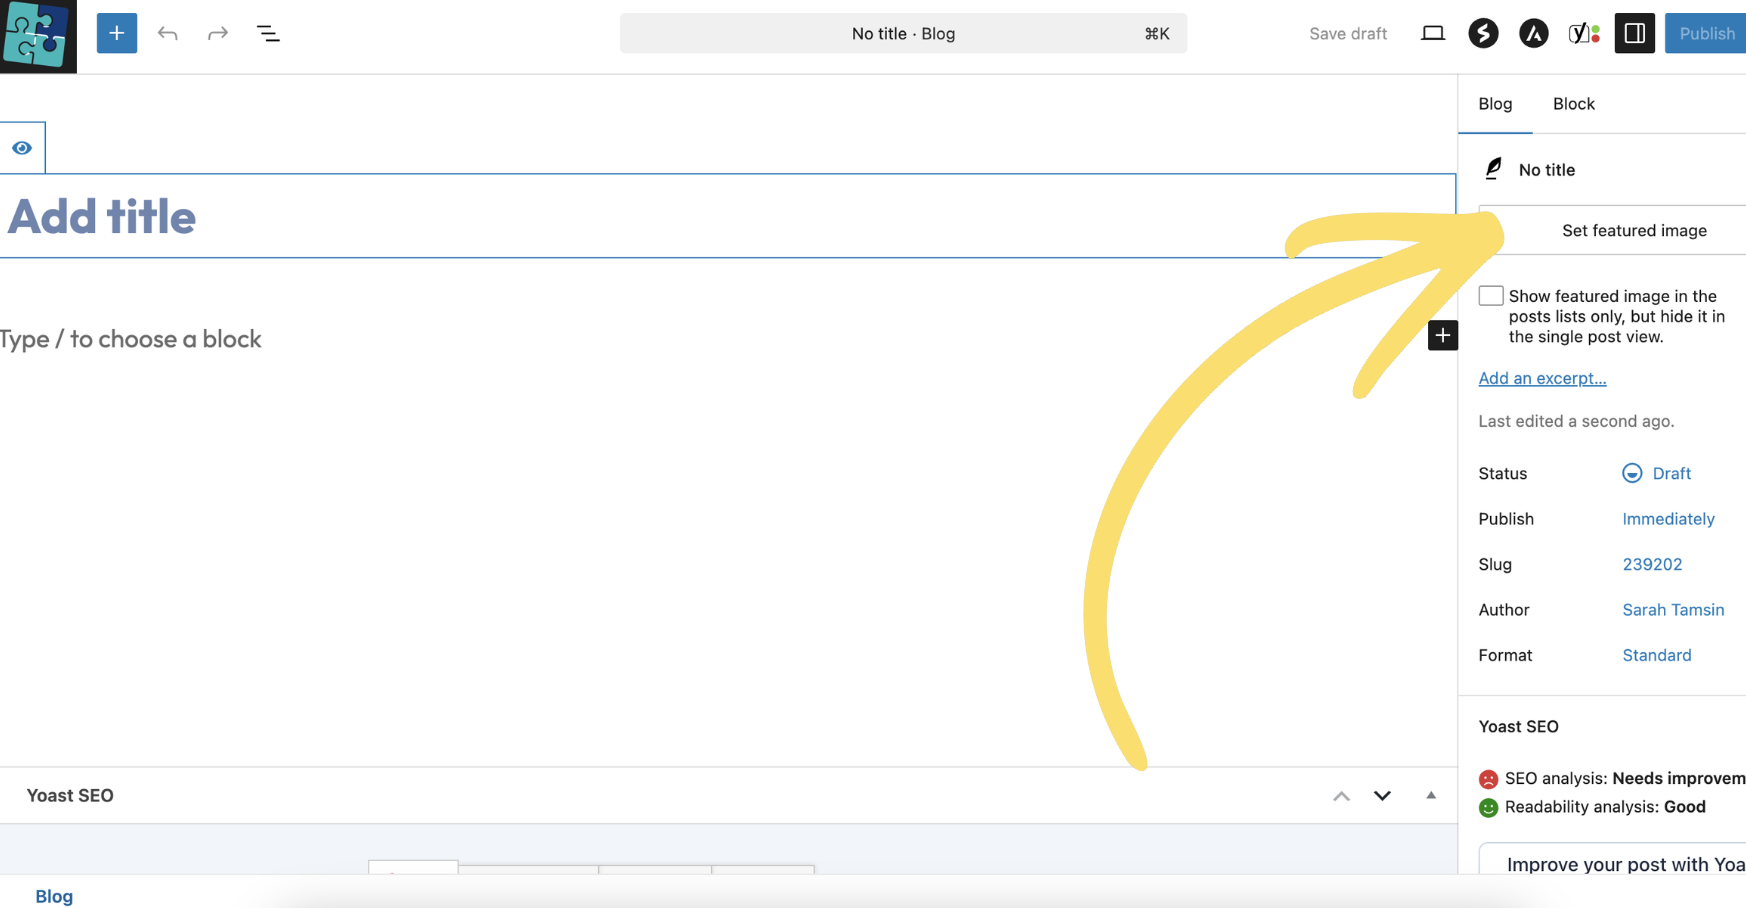
Upload or select your image from the Media Library.
-
Select categories
Section titled “Select categories”Scroll down in the right-hand panel to find the Categories section. Tick one or two categories that best describe your post.
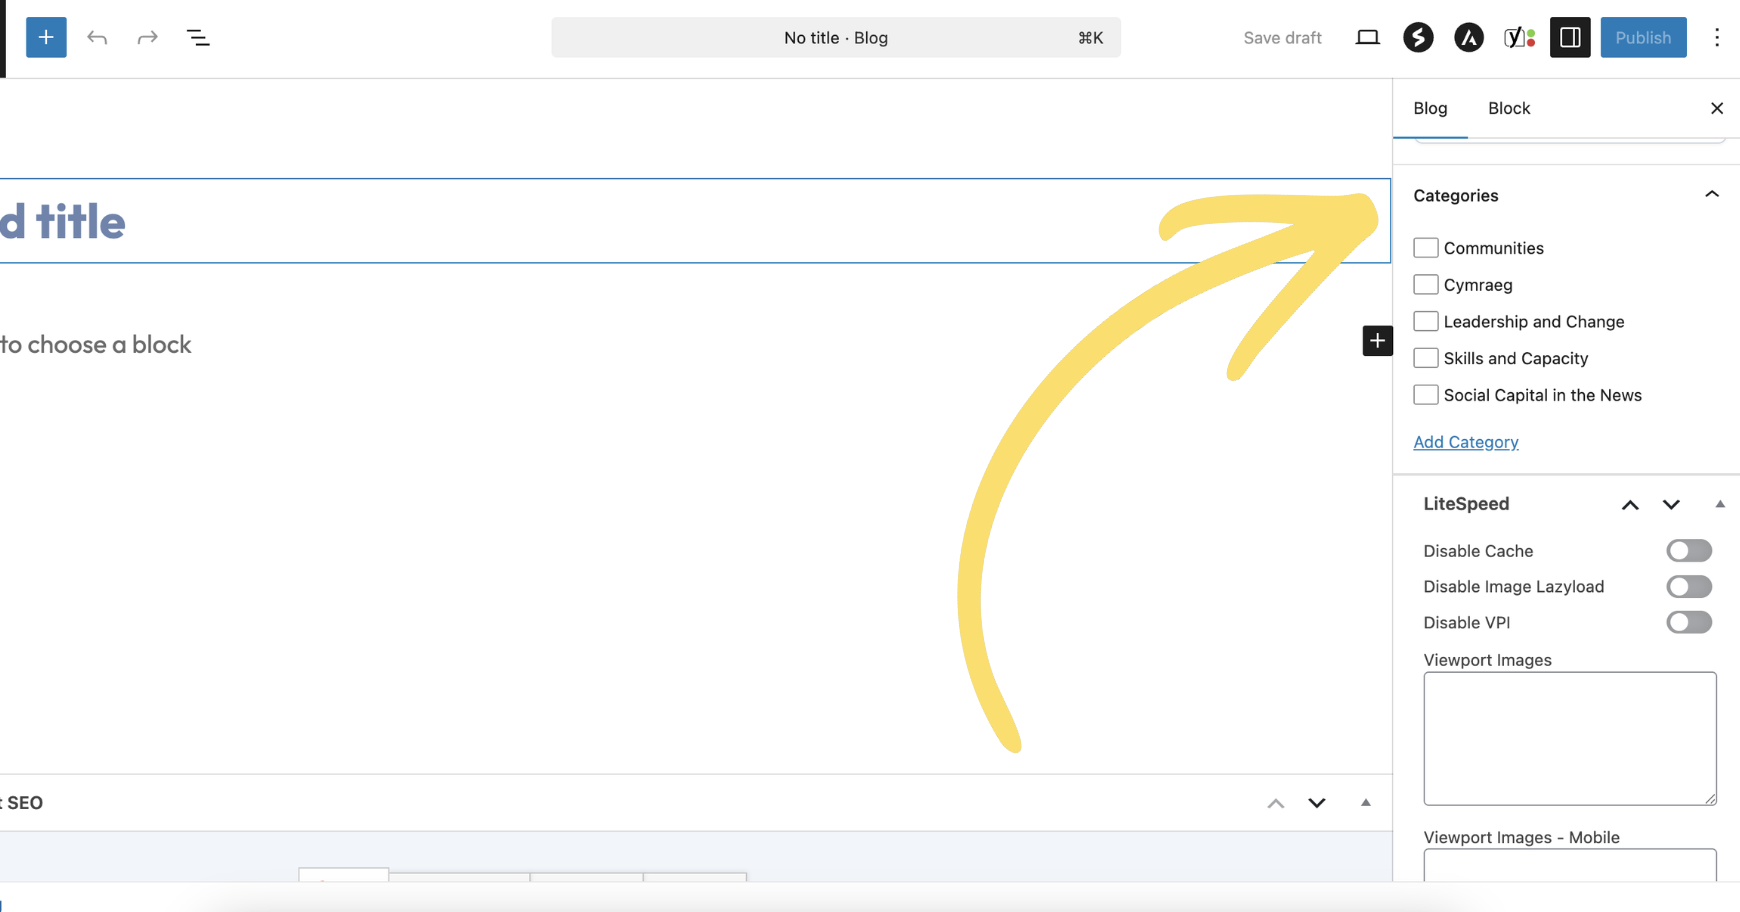
The available categories are:
- Communities
- Leadership and Change
- Skills and Capacity
- Social Capital in the News — selecting this category reveals a mandatory News Article Link field that must contain the URL of the external article being referenced. See the Social Capital in the News guide for full details.
- Cymraeg — only use this category if the article is written entirely in Welsh. If the post is in Welsh, this should be the only category selected. Welsh language posts do not appear on the standard blog — see Cymraeg (Welsh Language Posts) for details.
-
Add a meta description
Section titled “Add a meta description”Scroll down below the content area to find the Yoast SEO section. Click on Search appearance to expand it.
You will see a Google preview showing how your post will appear in search results, and below it a Meta description field.
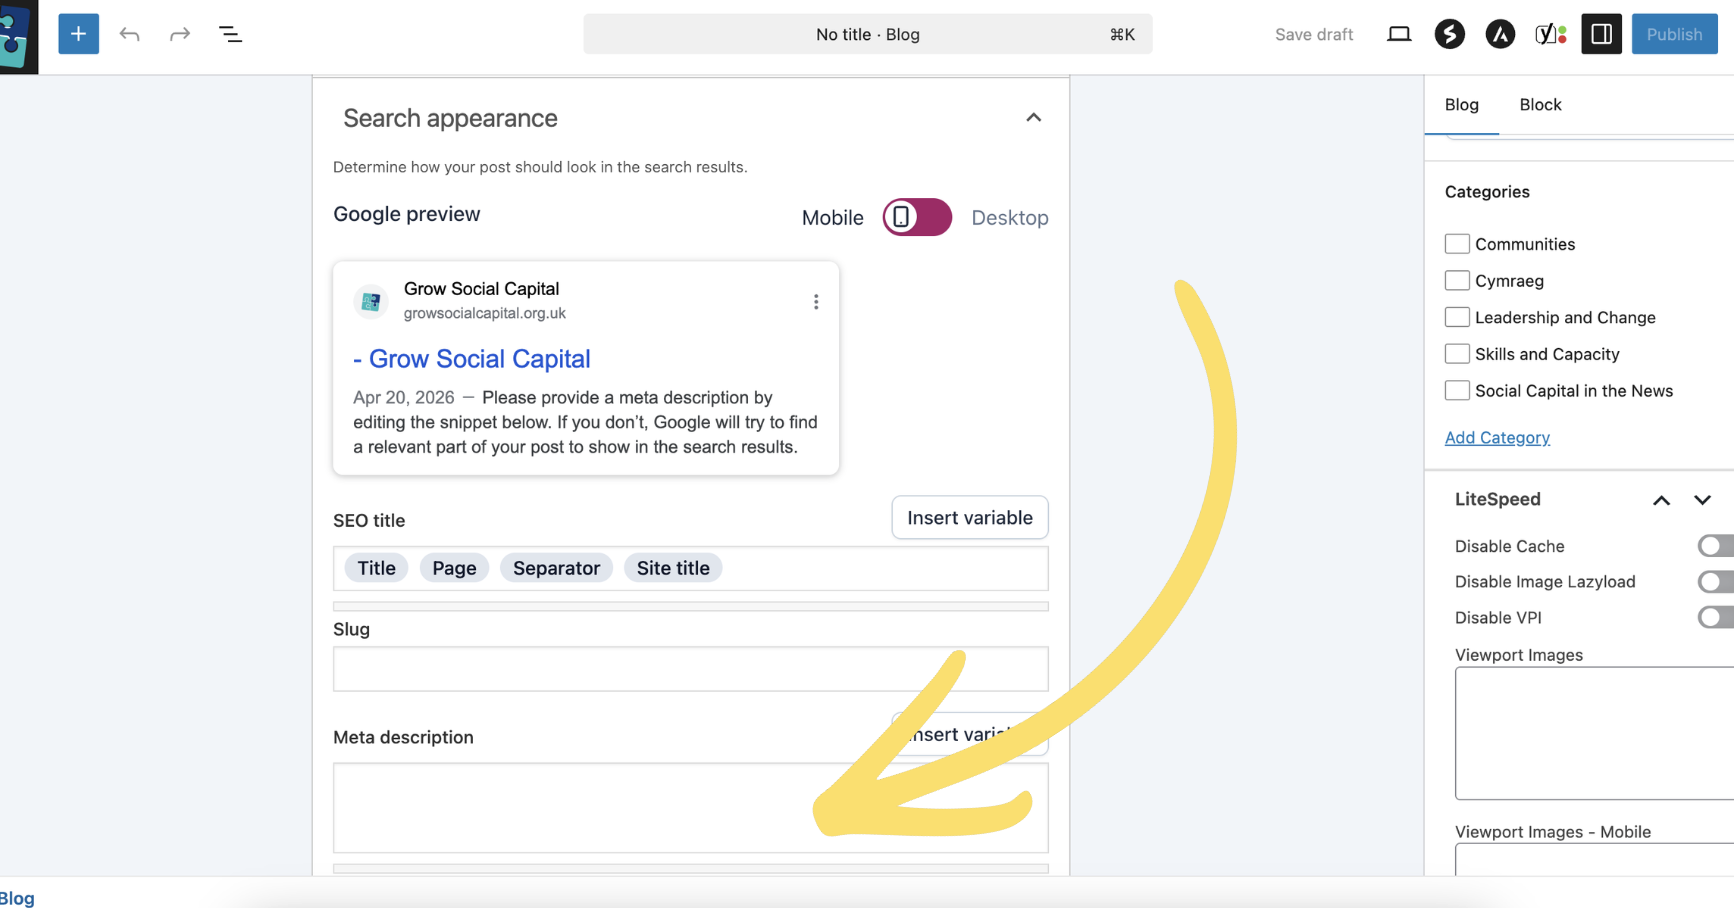
Click into the Meta description field and write a short summary of your post.
Meta description guidelines:
- Length: aim for 120–155 characters — long enough to be descriptive, short enough not to be cut off in search results
- Content: summarise what the post is about in plain language, as if explaining it to someone who has never heard of it
- Include a key phrase: naturally include the main topic or keyword of the post
- Do not repeat the title word for word — the description should add context, not just restate the headline
- Write for people, not search engines — the goal is to encourage someone to click through to read the post
If you leave the meta description blank, Google will try to pull a relevant excerpt from the post itself — but it is always better to write one yourself so you control what appears.
-
Publish your post
Section titled “Publish your post”When you are happy with your post, click the Publish button in the top-right corner of the editor.
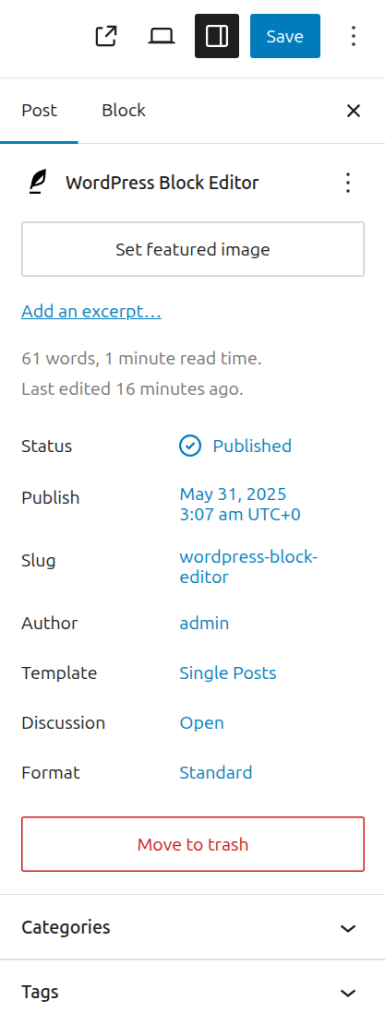
WordPress will ask you to confirm. Click Publish again to make the post live on the website.
Use Save draft instead if you are not ready to publish yet — this saves your work without making it visible to visitors. You can return to it later from Blog → All Blogs.
Page last updated at 20 April 2026 20:46 by Sarah Tamsin